If there’s one dessert that perfectly captures the joy and sparkle of the holiday season, it’s the Candy Cane Dream Roll Cake. This whimsical, red-and-white peppermint roll is more than just a dessert—it’s a showstopper that brings smiles to every face at the table. With its soft, sponge-like texture and a creamy peppermint filling, this cake embodies everything merry and bright about the holidays.
Imagine cutting into a swirl of red and white perfection, where every slice reveals a dreamy ribbon of peppermint cream nestled in light, fluffy sponge cake. The balance of sweetness, the hint of mint, and the smooth texture make this treat unforgettable. Whether it’s Christmas Eve dinner, a winter party, or a cozy gathering by the fire, this roll cake is guaranteed to steal the spotlight.
The best part? It looks fancy but is surprisingly easy to make. You don’t need to be a pastry chef to bake this beauty. All it takes is a few simple steps, a handful of everyday ingredients, and a little patience. Once you master it, this will become a signature dessert for your festive celebrations every year.
Let’s unwrap the magic of this holiday masterpiece and learn how to make your very own Candy Cane Dream Roll Cake that tastes as good as it looks!
Why You’ll Love This Recipe
There are plenty of roll cake recipes out there, but this one truly stands apart. Here’s why it’s a favorite among holiday bakers:
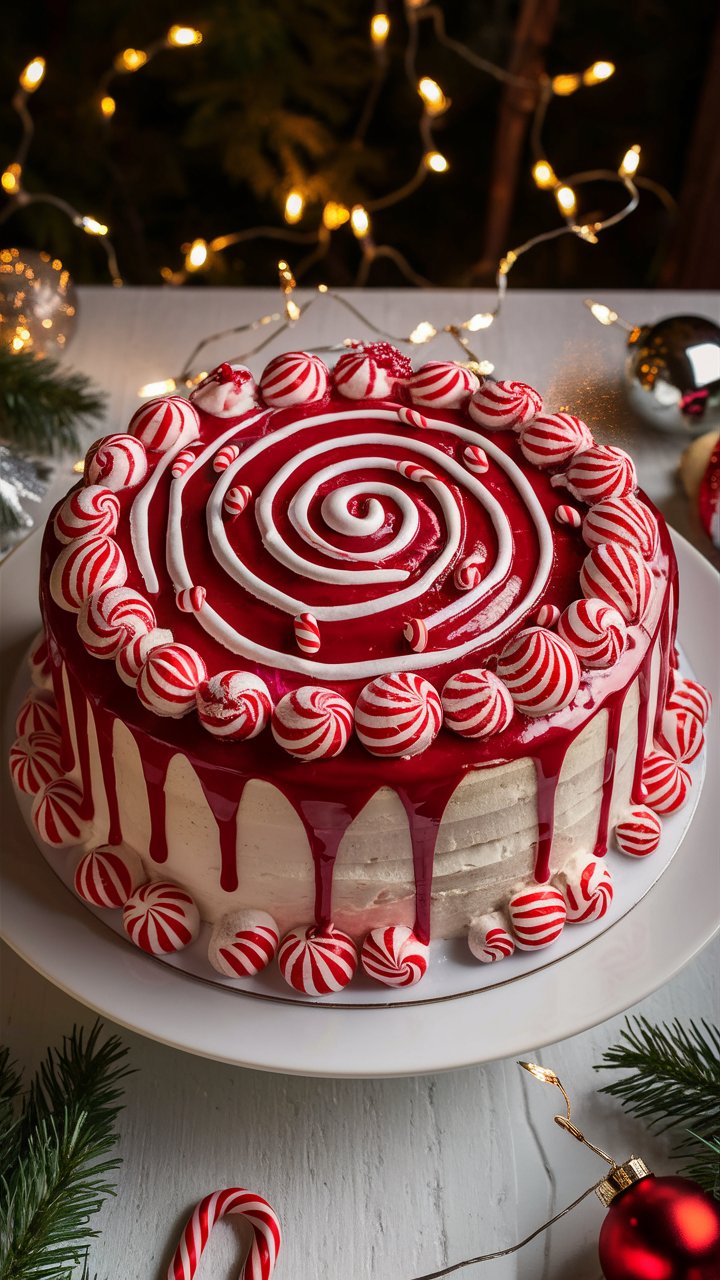
- Visually Stunning: The red and white swirl pattern mirrors the iconic candy cane design. It’s pure Christmas magic on a plate.
- Peppermint Perfection: The creamy filling has just the right balance of minty freshness without being overpowering.
- Soft and Fluffy Sponge: The sponge cake is airy yet rich—a perfect canvas for the filling.
- Easy to Customize: Add chocolate drizzle, crushed candy canes, or even a hint of cocoa in the batter for variety.
- Ideal for Sharing: Its size and beauty make it perfect for gifting or serving to guests during festive gatherings.
This dessert not only satisfies your sweet tooth but also creates memories around the table. Each slice tells a story of holiday warmth, laughter, and celebration.
Ingredients Overview
Here’s what you’ll need to create your Candy Cane Dream Roll Cake. Each ingredient plays a vital role in achieving the perfect texture and flavor balance.
For the Sponge Cake:
- 4 large eggs (room temperature) – These create structure and add richness to the sponge. Room temperature eggs whip better, giving your cake its signature fluffiness.
- 1 cup granulated sugar – Adds sweetness and helps achieve that light golden color when baked.
- 1 cup all-purpose flour (sifted) – Provides structure; sifting ensures no lumps and keeps the texture airy.
- 1 teaspoon baking powder – Helps the cake rise beautifully and stay soft.
- ¼ teaspoon salt – Balances the sweetness and enhances flavor.
- 1 teaspoon vanilla extract – Adds warmth and depth to the cake’s aroma.
- Red food coloring (gel preferred) – For that striking candy-cane swirl. Gel food coloring provides more vibrant color without thinning the batter.
For the Peppermint Filling:
- 2 cups heavy whipping cream (chilled) – The base of a creamy, stable filling.
- ½ cup powdered sugar – Sweetens and stabilizes the whipped cream.
- ½ teaspoon peppermint extract – Infuses that unmistakable candy cane flavor.
- Optional: A drop of red food coloring for a two-tone swirl effect inside the roll.
For Garnish (Optional but Recommended):
- Crushed candy canes for crunch and sparkle
- Fresh mint leaves for garnish
- White chocolate drizzle for added decadence
- A dusting of powdered sugar for a snowy finish
Step-by-Step Instructions
Step 1: Preheat Your Oven
Preheat your oven to 350°F (175°C). A properly preheated oven ensures even baking, giving you a perfectly light and fluffy sponge.
Step 2: Prepare Your Pan
Line a 15×10-inch jelly roll pan with parchment paper. Lightly grease it with non-stick spray or butter. This prevents sticking and makes rolling easier later.
Step 3: Mix the Dry Ingredients
In a medium bowl, whisk together the flour, baking powder, and salt. Set aside. This ensures even distribution of leavening agents for a smooth texture.
Step 4: Beat the Eggs and Sugar
In a large mixing bowl, beat the eggs with an electric mixer on high speed until thick and pale—about 4–5 minutes. Gradually add the sugar, one tablespoon at a time, and continue beating until the mixture becomes light and airy.
Step 5: Combine Wet and Dry Ingredients
Gently fold the dry ingredients into the egg mixture using a spatula. Add the vanilla extract and a few drops of red food coloring until you reach your desired color. Fold gently to avoid deflating the batter.
Step 6: Bake the Sponge
Pour the batter into the prepared pan and spread it evenly. Bake for 10–12 minutes, or until the cake springs back when touched lightly. Avoid overbaking—it can make the sponge dry and difficult to roll.
Step 7: Roll While Warm
Once out of the oven, immediately turn the cake onto a clean kitchen towel dusted with powdered sugar. Peel off the parchment paper. Starting from one short end, roll the cake up gently with the towel inside. Let it cool completely in this rolled shape. This step prevents cracks when filling later.
Step 8: Prepare the Filling
While the cake cools, whip the heavy cream and powdered sugar together until stiff peaks form. Add the peppermint extract and beat briefly to combine. For a festive touch, divide the cream into two bowls and tint one half pale pink.
Step 9: Fill the Cake
Once the sponge is cool, carefully unroll it. Spread the peppermint cream evenly, leaving about a ½-inch border on the edges. Roll it up again, this time without the towel, keeping it tight but gentle.
Step 10: Chill and Decorate
Wrap the rolled cake in plastic wrap and refrigerate for at least 30 minutes. Once set, drizzle with melted white chocolate and sprinkle crushed candy canes over the top for that snowy, wintery finish.

Expert Tips and Tricks
- Use Room Temperature Eggs: Cold eggs don’t whip as well and can cause a dense sponge.
- Don’t Overmix: Overmixing deflates the air and leads to a heavy cake.
- Roll While Warm: Rolling immediately after baking ensures flexibility and prevents cracks.
- Keep the Cream Cold: Cold cream whips faster and holds its shape longer.
- Use Gel Food Coloring: It creates vibrant color without altering the cake’s consistency.
- Decorate Before Serving: Add the crushed candy canes right before serving—they can melt if stored for too long on the cake.
Mistakes to Avoid
- Skipping Parchment Paper: Without lining, the cake may stick and tear when removed.
- Overbaking: Even one extra minute can dry out the sponge.
- Filling While Warm: Always cool completely before adding filling or it will melt and cause sogginess.
- Using Too Much Food Coloring: A little goes a long way—too much can affect taste.
- Not Chilling Enough: Chilling helps the roll hold its shape and makes slicing neater.
Variations and Flavor Twists
- Chocolate Peppermint Roll: Replace ¼ cup of flour with cocoa powder and add chocolate ganache drizzle.
- Vanilla Swirl Roll: Skip the red coloring for a pure white vanilla version, perfect for winter weddings.
- Mint-Chip Delight: Fold mini chocolate chips into the whipped cream filling.
- White Chocolate Raspberry Roll: Add raspberry jam under the cream layer and drizzle with white chocolate.
- Almond Peppermint Roll: Add ½ teaspoon of almond extract for a nutty undertone that complements the mint.
Serving Suggestions
This cake isn’t just about taste—it’s about presentation. Serve each slice with a dollop of whipped cream, a few crushed candy canes, and a drizzle of white chocolate. Pair it with:
- A cup of hot cocoa topped with marshmallows
- A steaming latte or peppermint mocha
- A glass of cold milk for the kids
You can even serve mini slices on dessert trays for parties—they’re as photogenic as they are delicious!
Storage and Make-Ahead Tips
- Refrigeration: Store covered in the refrigerator for up to 3 days.
- Freezing: Wrap tightly in plastic wrap and freeze for up to 1 month. Thaw overnight in the refrigerator before serving.
- Make-Ahead: You can bake the sponge a day ahead and assemble the roll the next day.
- Leftovers: Slice and store in airtight containers for quick dessert portions.
Nutritional Information (Per Slice, Approximate)
| Nutrient | Amount |
|---|---|
| Calories | 290 kcal |
| Fat | 16 g |
| Carbohydrates | 34 g |
| Protein | 5 g |
| Sugar | 26 g |
Note: Nutrition may vary based on toppings and portions.
FAQs for Candy Cane Dream Roll Cake
Q1. Can I make this roll cake ahead of time?
Yes! It tastes even better after chilling overnight. Just wrap it well to keep it moist.
Q2. Can I use a boxed cake mix?
You can, but homemade gives better texture. If using a mix, reduce liquid slightly for firmer sponge.
Q3. How do I prevent cracks while rolling?
Roll the cake while it’s still warm using a powdered sugar–dusted towel. This trains the sponge to hold shape.
Q4. Can I make it gluten-free?
Yes, use a gluten-free 1:1 flour blend. Avoid almond flour—it changes the structure too much.
Q5. What can I substitute for peppermint extract?
Try vanilla, almond, or orange extract for a flavor twist.
Q6. Can I make mini roll cakes?
Absolutely! Slice the sheet into smaller rectangles before filling and roll individually.
Presentation Ideas for the Holidays
- Arrange slices on a white platter with red ribbons and crushed candy cane sprinkles.
- Dust with powdered sugar “snow” and garnish with fresh mint or cranberries.
- Serve alongside holiday cookies and truffles for a dessert buffet.
- Wrap slices in festive paper and gift to friends—they look store-bought but taste homemade!
The Story Behind the Candy Cane Dream Roll Cake
The charm of this cake goes beyond taste—it’s about nostalgia. The first time many of us tasted a peppermint dessert, it came with laughter, lights, and love. The Candy Cane Dream Roll Cake captures that feeling in edible form. Every swirl tells a story of comfort and joy, of traditions shared and new memories created.
Baking it becomes a moment of mindfulness—measuring, folding, waiting for that perfect sponge. It’s not just about eating; it’s about the joy of creating something beautiful for the people you love.
Conclusion
The Candy Cane Dream Roll Cake isn’t just a dessert—it’s a celebration. From its soft, spongy layers to the refreshing peppermint cream and dazzling red-and-white swirl, it’s a holiday masterpiece that combines beauty, flavor, and festivity in one bite.
Whether you’re baking for family gatherings, gifting a loved one, or simply indulging in your own sweet moment, this roll cake promises to impress. Easy to make, delightful to serve, and impossible to forget—this is the treat that turns any winter day into a celebration.
So go ahead—preheat that oven, whip up some cream, and let the spirit of the holidays roll right into your kitchen. 🎄