When it comes to desserts that captivate the eyes and delight the taste buds, Black Forest Cheesecake stands as a timeless masterpiece. This stunning creation combines the velvety smoothness of cheesecake with the classic elegance of Germany’s iconic Black Forest cake. The result? A dessert that feels celebratory, comforting, and luxurious all at once.
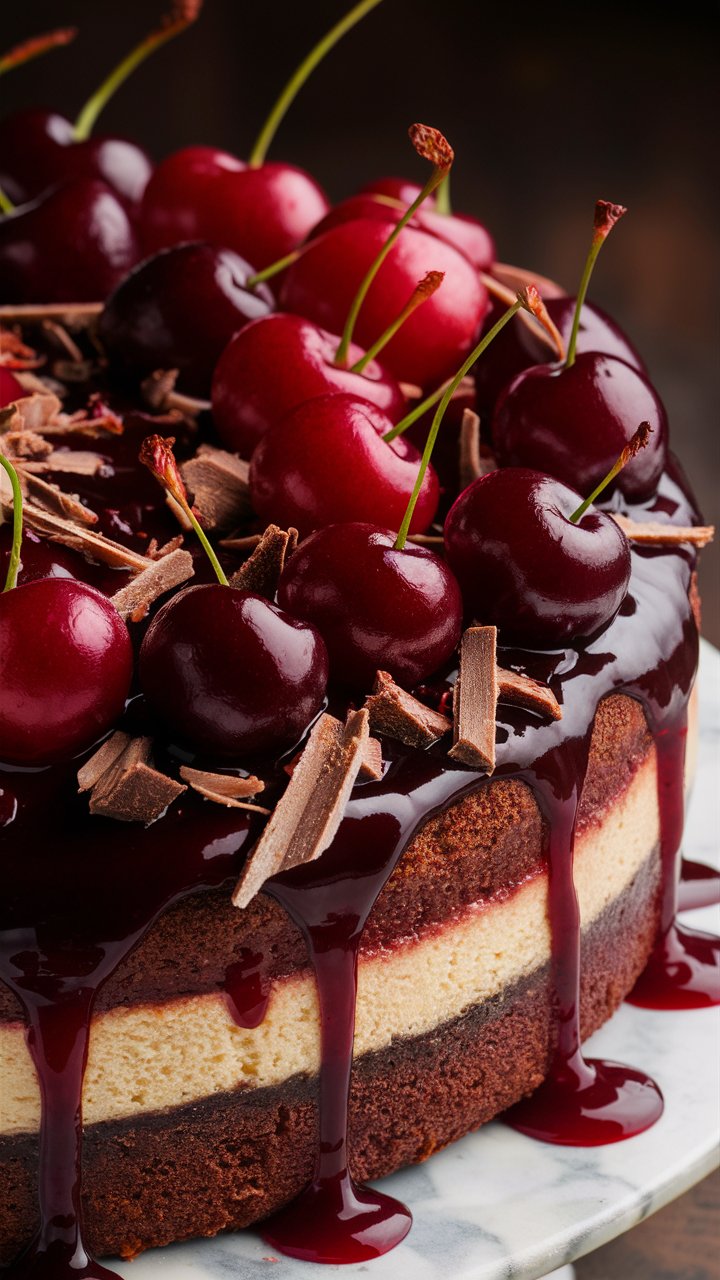
Picture this: a crisp chocolate cookie crust holding a creamy chocolate cheesecake filling, studded with juicy cherries, and topped with a silky chocolate ganache. Each slice offers a harmony of sweet, tart, and rich flavors that feel like a celebration in themselves.
Whether you’re planning a birthday party, holiday gathering, or just a quiet weekend treat, this cheesecake isn’t just food—it’s an experience. In this guide, we’ll walk through every detail, from origins to preparation, storage, serving, and even creative twists.
The Origins of Black Forest Desserts
The inspiration for Black Forest Cheesecake comes from the famous Schwarzwälder Kirschtorte (Black Forest Cake). Originating in the Black Forest region of Germany, this dessert has long been a symbol of indulgence. The region is known for its cherry orchards and fine chocolate, making it the perfect birthplace for such a confection.
The traditional cake consists of layers of chocolate sponge, whipped cream, cherries, and a splash of Kirsch (cherry brandy). Over time, bakers reimagined the concept into different forms, and thus, the cheesecake version was born. By replacing sponge with a rich cream cheese filling, bakers preserved the essence of the original while creating something new.
Today, Black Forest Cheesecake is beloved worldwide, often appearing as the centerpiece for celebrations. Its balance of flavors and textures makes it a dessert that feels both classic and contemporary.
Why Choose Black Forest Cheesecake?
This cheesecake is more than just dessert—it’s a culinary statement. Here’s why it stands out:
- Rich yet balanced flavors: The sweetness of chocolate and cream cheese is offset by the tart cherries.
- Visual appeal: Glossy ganache, deep chocolate tones, and ruby-red cherries make it a showstopper.
- Versatility: Perfect for birthdays, holidays, dinner parties, or even as a romantic dessert for two.
- Customizable: Can be baked, made no-bake, adapted for gluten-free diets, or personalized with flavor twists.
Essential Ingredients and Why They Matter
Every ingredient contributes to the character of this cheesecake. Let’s explore each:
1. Cream Cheese (16 ounces / 2 packages)
The foundation of cheesecake—creamy, rich, and smooth.
- Always use full-fat cream cheese for best texture.
- Tip: Let it soften at room temperature for easy mixing.
2. Granulated Sugar (1 cup)
Sweetens and stabilizes the filling.
- Beat thoroughly with cream cheese until smooth.
- Avoid over-sweetening, as cherries add natural sugar.
3. Eggs (3 large)
Bind ingredients and give structure.
- Add one at a time to avoid overmixing.
- Room temperature eggs blend more evenly.
4. Sour Cream (1 cup)
Adds moisture and tang.
- Balances the richness of chocolate.
- Creates a creamy consistency.
5. Vanilla Extract (1 tablespoon)
Enhances flavors with warmth.
- Use pure vanilla, not imitation.
6. Cocoa Powder (½ cup, unsweetened)
Infuses deep chocolate notes.
- Sift before mixing to prevent lumps.
7. Cherries (1 jar / 24 ounces pitted, or fresh if available)
Provide tartness to balance richness.
- Drain well to avoid excess liquid.
- Fresh cherries in season elevate flavor.
8. Chocolate Ganache (8 ounces dark chocolate + 1 cup heavy cream)
Creates a glossy, indulgent topping.
- Use 60–70% cocoa dark chocolate.
- Smooth and luxurious finish.
9. Crust Base
- 2 cups crushed chocolate cookies (Oreos or similar)
- ½ cup melted butter
This creates a crisp, chocolatey foundation.
Equipment You’ll Need
- Springform pan (9-inch): For easy release.
- Electric mixer: Ensures a smooth filling.
- Mixing bowls: Separate for dry and wet ingredients.
- Spatula: For folding cherries without breaking them.
- Measuring cups & spoons: Precision is key in baking.
- Wire rack: For cooling the cheesecake evenly.

Step-by-Step Black Forest Cheesecake Recipe
Step 1: Prepare the Crust
- Preheat oven to 325°F (163°C).
- Crush cookies into fine crumbs (food processor works best).
- Mix crumbs with melted butter until fully combined.
- Press firmly into the bottom of a springform pan.
- Bake for 10 minutes, then let cool.
Step 2: Make the Filling
- Beat cream cheese and sugar until smooth (about 3 minutes).
- Add eggs, one at a time, mixing just until incorporated.
- Blend in sour cream, vanilla, and cocoa powder.
- Gently fold in drained cherries with a spatula.
- Pour filling over the cooled crust.
Step 3: Bake the Cheesecake
- Place the springform pan in the oven.
- Bake for 65–75 minutes—center should jiggle slightly.
- Turn off oven, leave door ajar, and let cheesecake cool slowly to prevent cracks.
Step 4: Chill Completely
- Remove from oven and cool on a wire rack for 1 hour.
- Cover with plastic wrap and refrigerate overnight (minimum 6 hours).
Step 5: Prepare Chocolate Ganache
- Heat heavy cream until steaming (do not boil).
- Pour over chopped dark chocolate.
- Let sit for 2 minutes, then stir until smooth.
Step 6: Assemble and Decorate
- Remove cheesecake from pan.
- Pour ganache over the top, letting it drip down the sides.
- Garnish with fresh cherries, whipped cream swirls, or chocolate shavings.
Serving Suggestions
- Classic presentation: Slice with a hot knife for clean edges.
- With whipped cream: Add a dollop for extra lightness.
- Paired with beverages: Enjoy with coffee, espresso, or cherry liqueur.
- Holiday touch: Decorate with mint leaves for a festive look.
Storage and Freezing
- Refrigerator: Store tightly covered for up to 5 days.
- Freezer: Wrap slices individually and freeze for up to 2 months. Thaw overnight in the fridge.
- Avoid room temperature storage as dairy-based cheesecakes spoil quickly.
Common Mistakes to Avoid
- Overmixing the batter: Leads to cracks and dense texture.
- Skipping water bath or cooling time: Causes surface cracks.
- Using low-fat ingredients: Affects structure and flavor.
- Not chilling long enough: Results in a runny, unstable filling.
- Cutting too soon: Always chill overnight before slicing.
Pro Tips for Perfect Cheesecake
- Use a springform pan with parchment paper for a clean release.
- Always cool gradually to prevent cracks.
- Try Kirsch liqueur for an authentic Black Forest flavor.
- Decorate with fresh cherries and shaved chocolate for visual impact.
Creative Variations
- No-Bake Black Forest Cheesecake: Use gelatin for stability and refrigerate instead of baking.
- Mini Cheesecakes: Bake in muffin tins for individual servings.
- Gluten-Free Version: Use almond flour or gluten-free cookies for the crust.
- Holiday Twist: Add peppermint extract for a seasonal spin.
Nutritional Breakdown (per slice, approx.)
- Calories: 420
- Carbohydrates: 38g
- Protein: 7g
- Fat: 27g
- Fiber: 2g
- Sugar: 26g
(Values may vary depending on ingredient brands and portion sizes.)
FAQs
Q1: Can I make Black Forest Cheesecake ahead of time?
Yes, it’s best made a day in advance. The flavors develop beautifully overnight.
Q2: Can I use frozen cherries?
Yes, just thaw and drain them thoroughly before adding.
Q3: Do I need a water bath?
It helps prevent cracks but isn’t strictly necessary if you cool slowly.
Q4: Can I skip the ganache?
You can, but the ganache adds richness and enhances presentation.
Q5: Is there a no-bake version?
Yes, use whipped cream and gelatin instead of eggs for a chilled, no-bake option.
Q6: How do I prevent the crust from crumbling?
Press crumbs firmly and bake briefly before adding filling.
Q7: Can I freeze the whole cheesecake?
Yes. Wrap tightly in foil and plastic wrap, freeze for up to 2 months, and thaw in the fridge.
Q8: What’s the best way to slice cheesecake neatly?
Use a hot, clean knife—wipe between slices for smooth cuts.
Conclusion
Black Forest Cheesecake is more than dessert—it’s a celebration of flavor, texture, and tradition. By combining the iconic elements of the German Black Forest cake with the richness of cheesecake, you create a showpiece that’s as delicious as it is beautiful.
From its crunchy chocolate crust to its creamy filling, tart cherries, and glossy ganache, every bite is a masterpiece. With the tips, tricks, and step-by-step guide shared here, you’ll have everything you need to recreate this indulgent dessert in your own kitchen.
Whether you make it for a holiday feast, a birthday celebration, or a quiet weekend indulgence, this cheesecake will never disappoint. Bake it, share it, and savor it—because desserts like this are meant to be enjoyed and remembered.