Baking is more than just a kitchen activity—it’s an art form that blends creativity, patience, and science. Among the many desserts that captivate bakers and sweet lovers alike, the Purple Velvet Cake Roll stands out as both striking and delicious. Its rich, soft sponge with a dramatic purple hue paired with a smooth cream cheese filling creates a dessert that not only delights taste buds but also dazzles the eyes.
Unlike traditional velvet cakes, this roll offers elegance in presentation and convenience in serving. It is a show-stopping centerpiece for birthdays, anniversaries, holidays, and even casual family gatherings. The vibrant purple color instantly grabs attention, while the flavor—subtle cocoa, creamy filling, and tender texture—keeps people coming back for more.
This guide will walk you through everything from ingredients to serving tips, covering not only the recipe itself but also techniques, variations, and common pitfalls. By the end, you’ll not only know how to prepare this stunning cake but also feel confident enough to customize it to your personal style.
H1: Why Choose a Purple Velvet Cake Roll?
When planning a dessert, many bakers lean toward traditional choices like red velvet cake or chocolate sponge. So why opt for a purple velvet cake roll?
- Visual Appeal – The purple color adds uniqueness, making it perfect for themed parties (such as spring celebrations, Easter, or even Halloween).
- Velvety Texture – Its moist crumb is light yet indulgent, striking a balance that few desserts manage.
- Flavor Harmony – The cocoa provides depth, while the cream cheese filling offers tanginess that balances sweetness.
- Portion-Friendly – Rolls slice neatly into even servings, avoiding the mess of cutting layered cakes.
- Versatility – The recipe adapts well to fillings like fruit preserves, whipped cream, or flavored frostings.
The Purple Velvet Cake Roll is not just food; it’s an experience that combines creativity, taste, and presentation.
H1: Ingredients Breakdown and Their Roles
Baking success depends on understanding each ingredient’s purpose. Let’s take a closer look at the essential components of this recipe.
- All-Purpose Flour (1 cup / 120g) – Provides structure and stability.
- Unsweetened Cocoa Powder (2 tbsp / 15g) – Adds depth of flavor without overpowering the cake.
- Granulated Sugar (1 cup / 200g) – Sweetens while helping retain moisture.
- Eggs (3 large) – Bind ingredients together and give the sponge its airy texture.
- Vegetable Oil (½ cup / 120ml) – Keeps the cake soft and tender, even when chilled.
- Buttermilk (½ cup / 120ml) – Adds tang and reacts with leavening agents to create a light crumb.
- Baking Soda (1 tsp) – Works with buttermilk to help the sponge rise.
- Salt (1 tsp) – Balances flavors and enhances sweetness.
- Gel Food Coloring (1 tbsp, purple) – Provides the iconic vibrant shade without altering texture.
- Cream Cheese (8 oz / 227g) – Forms the base of the luscious filling.
- Powdered Sugar (2 cups / 240g) – Sweetens the filling while keeping it smooth.
- Optional: Vanilla Extract (1 tsp) – Enhances overall flavor.
Each ingredient plays a role in creating balance between taste, texture, and appearance. Skipping or mismeasuring can drastically alter results.
H1: Step-by-Step Preparation Guide
Step 1: Prepare Your Workspace
Preheat the oven to 350°F (175°C). Line a 15×10-inch jelly roll pan with parchment paper, leaving extra overhang for easy removal. Lightly grease.
Step 2: Mix Dry Ingredients
In a bowl, whisk together flour, cocoa powder, baking soda, and salt. Set aside.
Step 3: Combine Wet Ingredients
Beat sugar and oil until smooth. Add eggs one by one, mixing well after each. Pour in buttermilk and gel coloring. Mix until vibrant and consistent.
Step 4: Bring It Together
Gradually fold dry mixture into the wet ingredients. Avoid overmixing—this ensures the sponge stays fluffy.
Step 5: Bake the Sponge
Spread batter evenly in the prepared pan. Bake for 12–15 minutes, or until the center springs back when gently pressed.
Step 6: Rolling the Sponge
While still warm, transfer the sponge (with parchment) onto a clean towel dusted with powdered sugar. Roll it gently with the towel and let it cool completely.
Step 7: Make the Filling
Beat softened cream cheese with powdered sugar until creamy. Add vanilla extract if desired.
Step 8: Assemble the Cake Roll
Unroll the cooled sponge, spread filling evenly, then re-roll carefully. Wrap in plastic wrap and chill for 2 hours before slicing.
This structured method ensures even beginners can achieve professional-looking results.
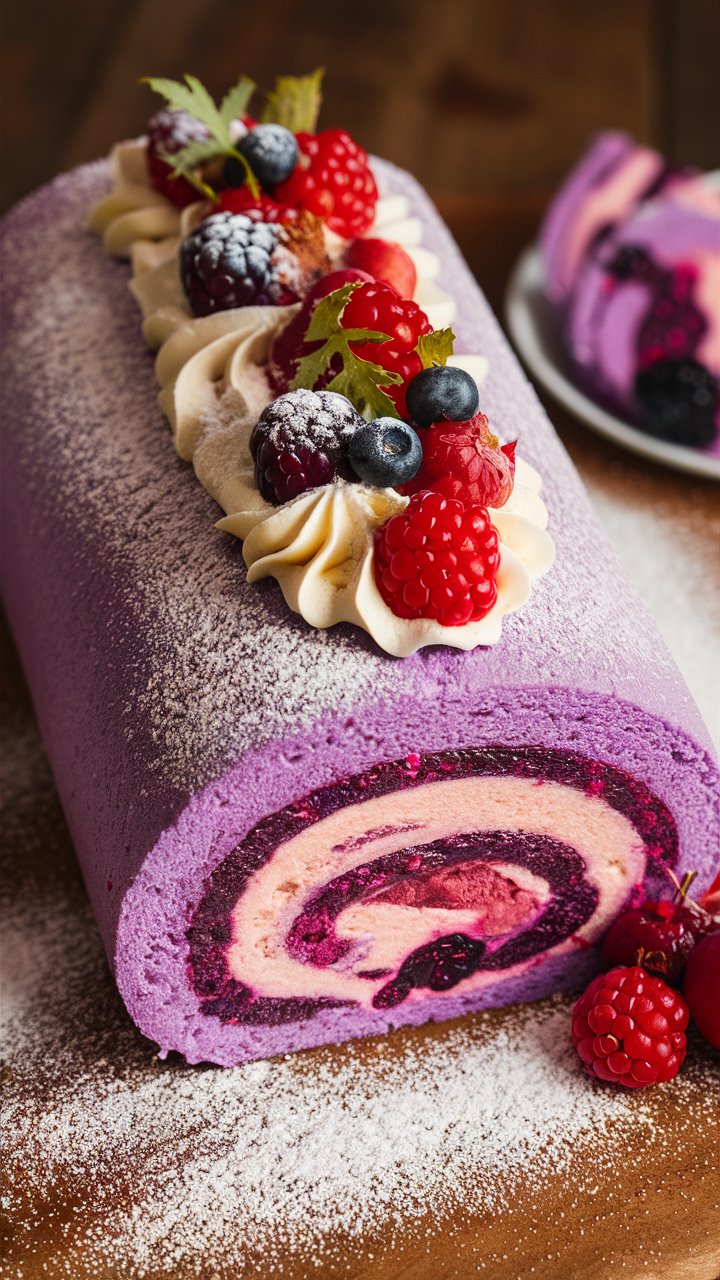
H1: Serving Ideas and Presentation
A dessert’s charm lies not only in taste but also in presentation. Here are ways to elevate your Purple Velvet Cake Roll:
- Slice neatly and serve on white platters for contrast.
- Dust with powdered sugar for a snowy effect.
- Garnish with fresh berries or edible flowers.
- Add a drizzle of chocolate or berry sauce for elegance.
- Pair slices with coffee, tea, or sparkling beverages.
For festive occasions, decorating the roll with whipped cream rosettes or themed toppers makes it even more striking.

H1: Storage and Make-Ahead Tips
- Refrigeration – Store wrapped in plastic wrap or airtight container for up to 4 days.
- Freezing – Freeze the whole roll tightly wrapped for up to 3 months. Thaw overnight in the refrigerator.
- Make Ahead – The sponge can be baked and frozen without filling, then assembled later for freshness.
H1: Common Mistakes to Avoid
- Overmixing Batter – Makes the sponge dense.
- Skipping Parchment Paper – Causes sticking and tearing.
- Rolling When Cold – Leads to cracks; always roll while warm.
- Not Allowing Chill Time – Filling oozes if cake isn’t set.
- Incorrect Measurements – Baking is precise; use scales for accuracy.
H1: Expert Tips and Tricks
- Use room-temperature eggs and dairy for smoother batter.
- For a bakery-style finish, sift cocoa and flour before mixing.
- To intensify flavor, add a hint of espresso powder.
- Dust towel with powdered sugar to prevent sticking when rolling.
- Chill knife before slicing for clean cuts.
H1: Creative Variations and Flavor Twists
- Berry Roll – Add raspberry jam alongside cream cheese filling.
- Nutty Delight – Sprinkle crushed pistachios into the filling.
- Citrus Twist – Add lemon zest to the cream cheese mixture.
- Holiday Version – Swirl in peppermint extract for winter celebrations.
- Healthier Swap – Use whole wheat pastry flour and natural coloring (like beet juice).
These variations encourage creativity while keeping the roll’s essence intact.
H1: FAQs About Purple Velvet Cake Roll
Q1: Can I use liquid food coloring?
Gel is recommended—it provides vibrant color without thinning the batter.
Q2: Can I make it gluten-free?
Yes, use a gluten-free flour blend. Check that it contains xanthan gum for structure.
Q3: How long should I chill before serving?
At least 2 hours, but overnight chilling enhances flavor and texture.
Q4: Can I use whipped cream instead of cream cheese filling?
Yes, but stabilize whipped cream with gelatin or mascarpone for firmness.
Q5: Why did my roll crack?
Rolling the cake while too cold or baking too long often causes cracks. Roll warm and avoid overbaking.
H1: Conclusion – A Dessert Worth Mastering
The Purple Velvet Cake Roll combines beauty and flavor in a way few desserts can. With its rich cocoa undertones, creamy filling, and striking presentation, it transforms ordinary gatherings into memorable celebrations. By understanding ingredients, following precise steps, and applying expert tips, you’ll achieve bakery-level results in your own kitchen.
This cake isn’t just about indulgence—it’s about creativity, joy, and sharing moments with loved ones. Whether you keep it classic or experiment with variations, each roll you make carries your personal touch. So, preheat your oven, grab your mixing bowls, and bring the magic of purple velvet into your home.