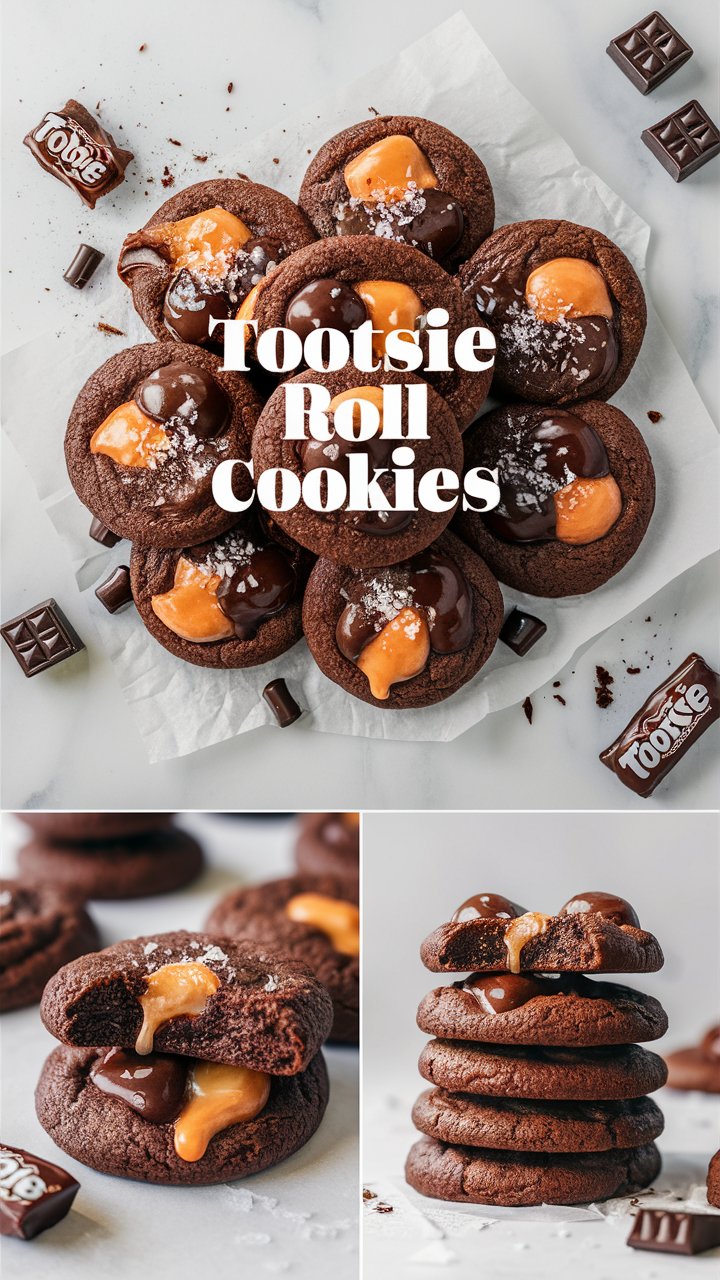
Few desserts can blend nostalgia and indulgence quite like Tootsie Roll Cookies. Imagine the comforting aroma of freshly baked cookies mingling with the rich, chocolatey scent of melted Tootsie Rolls—soft, chewy, and just the right balance of sweetness. These cookies capture the familiar joy of childhood candy and transform it into a modern, oven-fresh delight.
Perfect for parties, after-school snacks, holiday cookie exchanges, or cozy evenings at home, Tootsie Roll Cookies are more than a dessert—they’re a warm memory waiting to happen. Whether you’re a seasoned baker or new to the kitchen, this easy-to-follow recipe will help you whip up batches of irresistible treats that everyone will love.
In this guide, we’ll cover everything you need to know—from essential ingredients and baking steps to pro-level tips, storage techniques, and creative variations that take these cookies to a new level.
Why You’ll Love This Recipe
- Soft and Chewy Texture: Every bite delivers that satisfying chew from melted Tootsie Rolls nestled in buttery cookie dough.
- Simple Ingredients: You probably already have most of what you need in your pantry.
- Crowd-Pleaser Flavor: The blend of chocolate, vanilla, and brown sugar creates an unforgettable cookie.
- Fun and Nostalgic: Combines the joy of a classic candy with the warmth of homemade baking.
- Perfect for All Occasions: Ideal for holidays, lunchboxes, or gifting.
Ingredients Overview
The secret behind these chewy chocolate treasures lies in the quality and balance of ingredients. Let’s break them down:
1. All-Purpose Flour – The Foundation
Use 2 cups of all-purpose flour for structure. Flour provides the framework that helps the cookies hold their shape while remaining tender inside.
2. Baking Soda – The Gentle Lifter
Add 1 teaspoon of baking soda. It helps the cookies spread just enough while staying soft and airy in the center.
3. Salt – The Flavor Enhancer
A ½ teaspoon of salt sharpens and balances the sweetness, creating depth in every bite.
4. Unsalted Butter – For Richness
Use 1 cup (two sticks) of unsalted butter, softened to room temperature. Butter contributes flavor and that melt-in-the-mouth texture.
5. Sugars – The Perfect Duo
- ¾ cup granulated sugar: adds crispness.
- ¾ cup packed brown sugar: brings moisture and a subtle caramel flavor that complements chocolate beautifully.
6. Eggs – The Binder and Softener
Two large eggs add moisture, helping the dough come together and bake into a luscious, soft consistency.
7. Pure Vanilla Extract – The Aroma Booster
Use 1 teaspoon of high-quality vanilla extract for a warm, fragrant undertone.
8. Tootsie Rolls – The Star Ingredient
Chop 8 ounces of Tootsie Rolls into small pieces. As they bake, they melt slightly, creating gooey pockets of candy throughout the cookies.
(Tip: Chill the chopped Tootsie Rolls for 10 minutes before mixing—they’ll hold their shape better while baking.)
Step-by-Step Guide to Perfect Tootsie Roll Cookies
Follow these steps carefully, and you’ll get bakery-quality cookies every time.
Step 1: Preheat the Oven
Preheat your oven to 350°F (175°C). Line two baking sheets with parchment paper or silicone baking mats to prevent sticking and ensure even browning.
Step 2: Combine Dry Ingredients
In a medium bowl, whisk together flour, baking soda, and salt. Set aside. Mixing them first ensures that leavening agents are evenly distributed.
Step 3: Cream Butter and Sugars
In a large bowl, use an electric mixer to beat the softened butter with both sugars for about 2–3 minutes, until pale and fluffy. This process incorporates air, resulting in a lighter cookie texture.
Step 4: Add Eggs and Vanilla
Beat in the eggs one at a time, mixing well after each addition. Then add the vanilla extract. Scrape the sides of the bowl to make sure everything blends evenly.
Step 5: Mix Wet and Dry Ingredients
Gradually add the dry mixture to the wet ingredients, mixing on low speed until just combined. Avoid overmixing; it can make your cookies tough.
Step 6: Fold in the Tootsie Roll Pieces
Gently fold in the chopped Tootsie Rolls with a spatula or wooden spoon. Make sure the candy bits are evenly distributed throughout the dough.
Step 7: Scoop and Bake
Scoop the dough into rounded tablespoon-sized balls and place them 2 inches apart on your baking sheet.
Bake for 10–12 minutes, or until the edges are lightly golden while the centers remain soft.
Step 8: Cool Properly
Let cookies cool on the baking sheet for 5 minutes before transferring them to a wire rack. This prevents them from breaking and allows residual heat to finish baking the centers.

Expert Baking Tips
- Chill the Dough: If time allows, refrigerate the dough for 30 minutes before baking. It prevents spreading and enhances flavor.
- Use Fresh Ingredients: Baking soda and flour lose potency over time—check expiration dates for best results.
- Avoid Overbaking: Remove cookies when the centers still look slightly underdone; they’ll firm up as they cool.
- Uniform Size: Use a cookie scoop to ensure even baking.
- Enhance with a Sprinkle: Add a light pinch of sea salt on top before baking to contrast sweetness.
Serving Ideas
- Classic Style: Enjoy warm with a cold glass of milk or hot cocoa.
- Party Platter: Pair with chocolate chip and peanut butter cookies for a mixed dessert tray.
- Dessert Sandwich: Spread vanilla ice cream between two cookies for a quick frozen treat.
- Gift Idea: Wrap a dozen in decorative paper and tie with ribbon—perfect for holidays or birthdays.
Storage and Make-Ahead Tips
At Room Temperature
Store cooled cookies in an airtight container for up to 1 week. To keep them soft, place a slice of white bread inside the container.
In the Refrigerator
Refrigerate for up to 10 days in an airtight container. Allow cookies to come to room temperature before serving for best texture.
Freezing the Dough
Scoop dough into balls, place them on a tray, and freeze for 1 hour. Transfer frozen dough balls to a freezer bag and store for up to 3 months.
Bake from frozen, adding 1–2 extra minutes to the bake time.
Freezing Baked Cookies
Once completely cool, layer cookies between parchment paper in a sealed container. They’ll stay fresh for up to 3 months—just thaw at room temperature when ready to serve.
Common Mistakes to Avoid
- Incorrect Butter Temperature: Too cold and it won’t cream; too soft and cookies will spread. Aim for room temperature.
- Overmixing Dough: This toughens cookies. Mix only until combined.
- Crowded Baking Sheet: Leave space for even airflow and proper spread.
- Skipping Chill Time: Skipping it can lead to thin, flat cookies.
- Overbaking: Cookies continue cooking after being removed from the oven—don’t wait for them to look “done.”
Creative Variations
Want to take your Tootsie Roll Cookies up a notch? Try these fun twists:
- Nutty Crunch: Add ½ cup of chopped pecans, almonds, or walnuts for texture.
- Double Chocolate: Mix in 2 tablespoons of unsweetened cocoa powder for a richer flavor.
- Caramel Surprise: Add caramel bits alongside the Tootsie Rolls for extra gooeyness.
- Marshmallow Magic: Fold in mini marshmallows to create a s’mores-like experience.
- Peanut Butter Fusion: Swap half the butter with peanut butter for a candy-bar twist.
- Festive Touch: Add colored sprinkles for holidays or birthdays.
- Tootsie Roll Minis: Use mini Tootsie Rolls instead of chopped ones for chunkier bites.
Make It Healthier (Optional Adjustments)
- Whole Wheat Flour: Replace half the flour with whole wheat for added fiber.
- Reduced Sugar: Cut sugar by ¼ cup without losing too much sweetness.
- Dairy-Free: Use plant-based butter alternatives.
- Gluten-Free: Substitute with a gluten-free baking mix.
These changes slightly alter texture but still create delicious results for dietary needs.
Troubleshooting Guide
| Problem | Possible Cause | Solution |
|---|---|---|
| Cookies too flat | Butter too warm | Chill dough 30 minutes before baking |
| Cookies too hard | Overmixed or overbaked | Mix lightly and reduce bake time |
| Candy melted out | Pieces too big | Cut Tootsie Rolls into smaller chunks |
| Uneven browning | Inconsistent oven heat | Rotate baking sheet halfway through |
| Dough sticky | Too warm | Chill before shaping |
FAQs About Tootsie Roll Cookies
1. What makes Tootsie Roll Cookies unique?
They combine the soft chewiness of classic cookies with gooey chocolate-candy bits that melt into sweet pockets during baking.
2. Can I use other candies instead of Tootsie Rolls?
Yes! Try using caramel chews, Rolos, or chopped chocolate bars for a fun twist.
3. How do I store leftover cookies?
Keep them in an airtight container at room temperature for up to a week, or freeze for longer storage.
4. Can I freeze Tootsie Roll cookie dough?
Absolutely. Shape the dough into balls, freeze, and bake directly from frozen when needed.
5. Are there gluten-free or vegan versions?
Yes—use gluten-free flour and vegan butter or coconut oil for a plant-based alternative.
6. Why did my cookies spread too much?
Butter may have been too warm or the dough overmixed. Chill dough before baking.
7. How do I keep cookies chewy for days?
Store with a slice of bread or a damp paper towel inside the container—it keeps moisture balanced.
8. Can I make mini versions?
Yes, use half-tablespoon portions and bake for about 8 minutes.
9. What pairs best with these cookies?
A tall glass of milk, coffee, or even a scoop of vanilla ice cream complements them perfectly.
10. How can I make them look more professional?
Drizzle melted chocolate over cooled cookies or dust lightly with powdered sugar before serving.
Nutritional Information (Approx. per Cookie)
(Based on 24 cookies)
- Calories: 160
- Fat: 8g
- Carbohydrates: 21g
- Sugar: 13g
- Protein: 2g
Final Thoughts: A Cookie Worth Every Bite
Baking Tootsie Roll Cookies is more than following a recipe—it’s a chance to turn a classic candy into something homemade, heartwarming, and memorable. Each batch delivers buttery richness, chocolatey sweetness, and that nostalgic chew that reminds us of simpler times.
Whether you bake them for family, friends, or a personal treat, these cookies never disappoint. They’re proof that comfort can come wrapped in the scent of melted chocolate and warm dough.
So preheat your oven, unwrap a few Tootsie Rolls, and get ready to create magic one chewy bite at a time.